Use approvals to link your forms together with custom workflow steps.
Create a New Approval
Approvals connect two forms by letting one of the forms approve the other. We use forms for the approval step so you can add custom fields and conditions to your approval process, or hook multiple approval forms together to create complex workflows. In the examples here we're using Expenses and Expense Approvals as our forms.
Before you get started, make sure you have the two forms you'd like to connect already created. In this basic example, your approving form will need a Multiple Choice field with the values "Approved" and "Rejected". You can change this field and its option names later.
- Open the Form Editor for the approved form (Expenses)
- Select the Options button in the menu
- Click the Approvals link in the options sidebar
- Click Add a New Approval in the approvals list
Setting Up Your Approval
- Set the Approving Form to the form approving the form you selected (Expense Approvals)
- Change the Primary Field to the value you'd like to appear in the list of submissions awaiting approval.
- Change the Approval Field to the field that marks the submission as Approved or Rejected. This should be set to the Multiple Choice field mentioned above.
- Save your Approval.
Custom Approval Field Values
You can technically use any field type as an Approval Field, and you can change "Approved" and "Rejected" to your own values. Submissions will be marked as approved or rejected when they match the values given.
- Open the Advanced tab of the Approval Editor
- Change the Approval Value and Rejection Value to your custom values.
- Save your Approval.
Complex Approval Checks
If you want to do more advanced checks for approval status based on the approval submission's values, use a Formula field to generate the "Approved" or "Rejected" value based on your conditions. Email us at support@sonadier.com for help setting up an advanced formula.
Reviewing Submissions
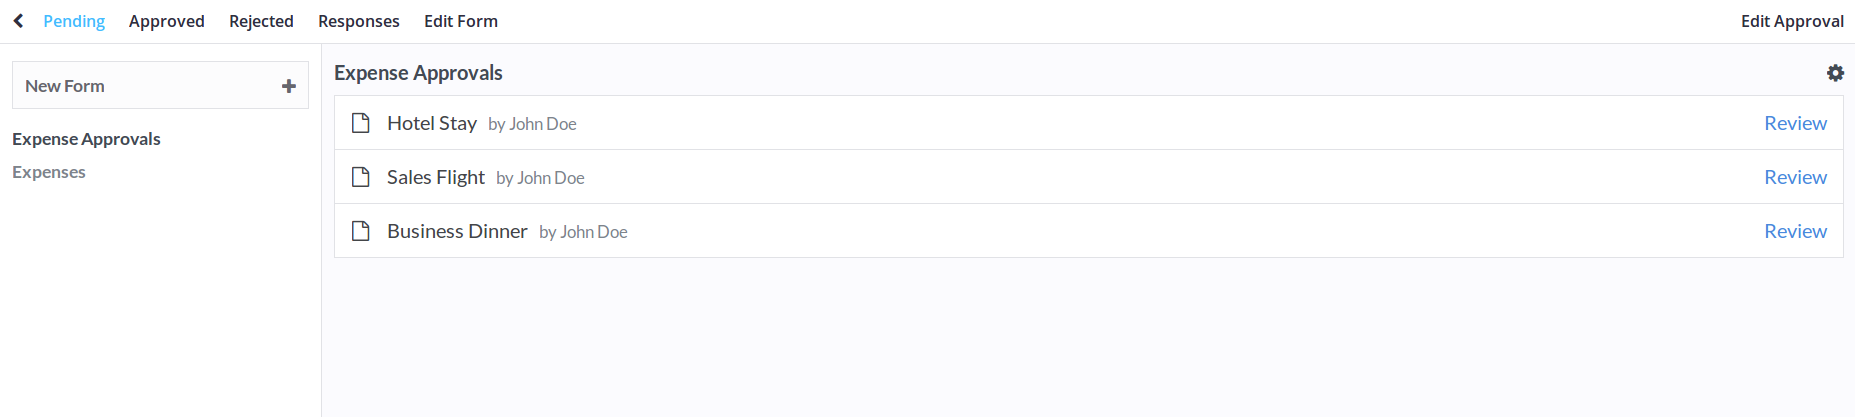
When you're done with your approval setup, click the name of the approval you created (Expense Approvals in the example).
Now that your form has an approval step, clicking the approving form's name (Expense Approvals) in the sidebar will open this review page directly. You can still view the approving form's responses directly with the "Responses" menu option. You can also see previously Approved or Rejected responses with the respective menu options.
Clicking a submission's name in the list directly will open the submission's edit popup if you have permission to access it. You can also open the submission in a new tab to see the submission view page with comments.
Use the Review button to start reviewing a submission. If you don't mark a submission as either approved or rejected, it'll remain in this list and you can click Review again to edit the approval submission.